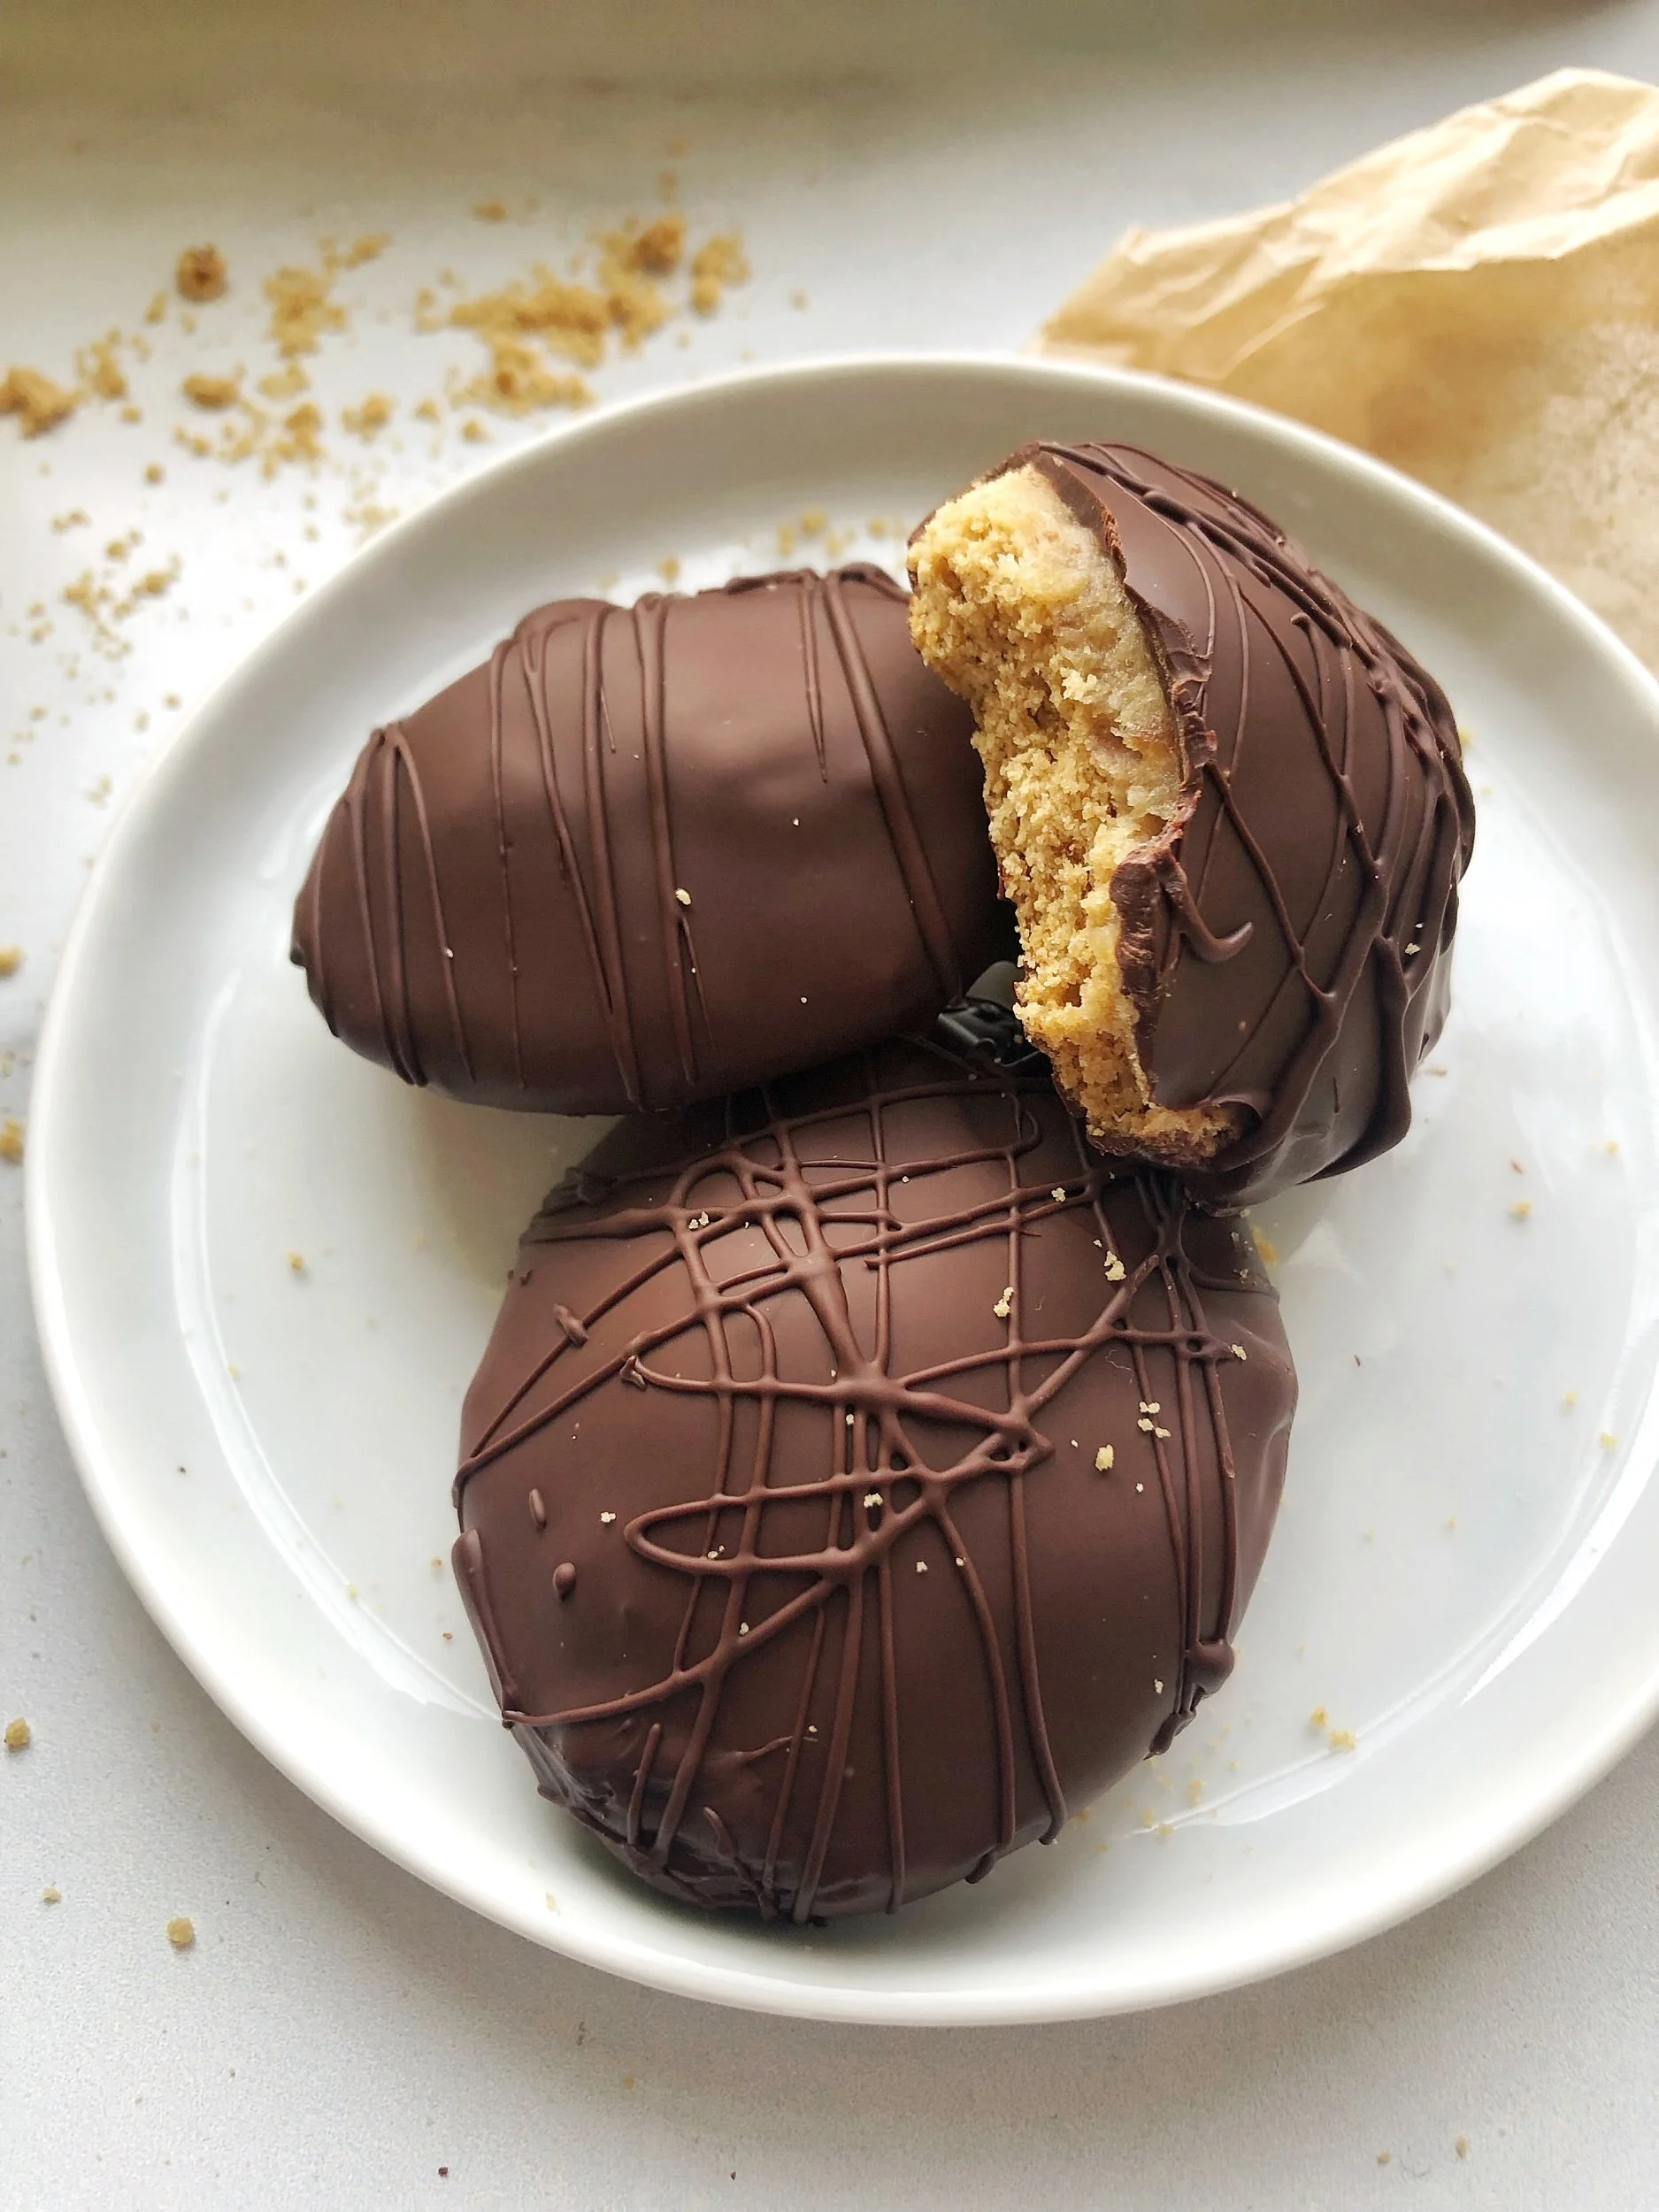
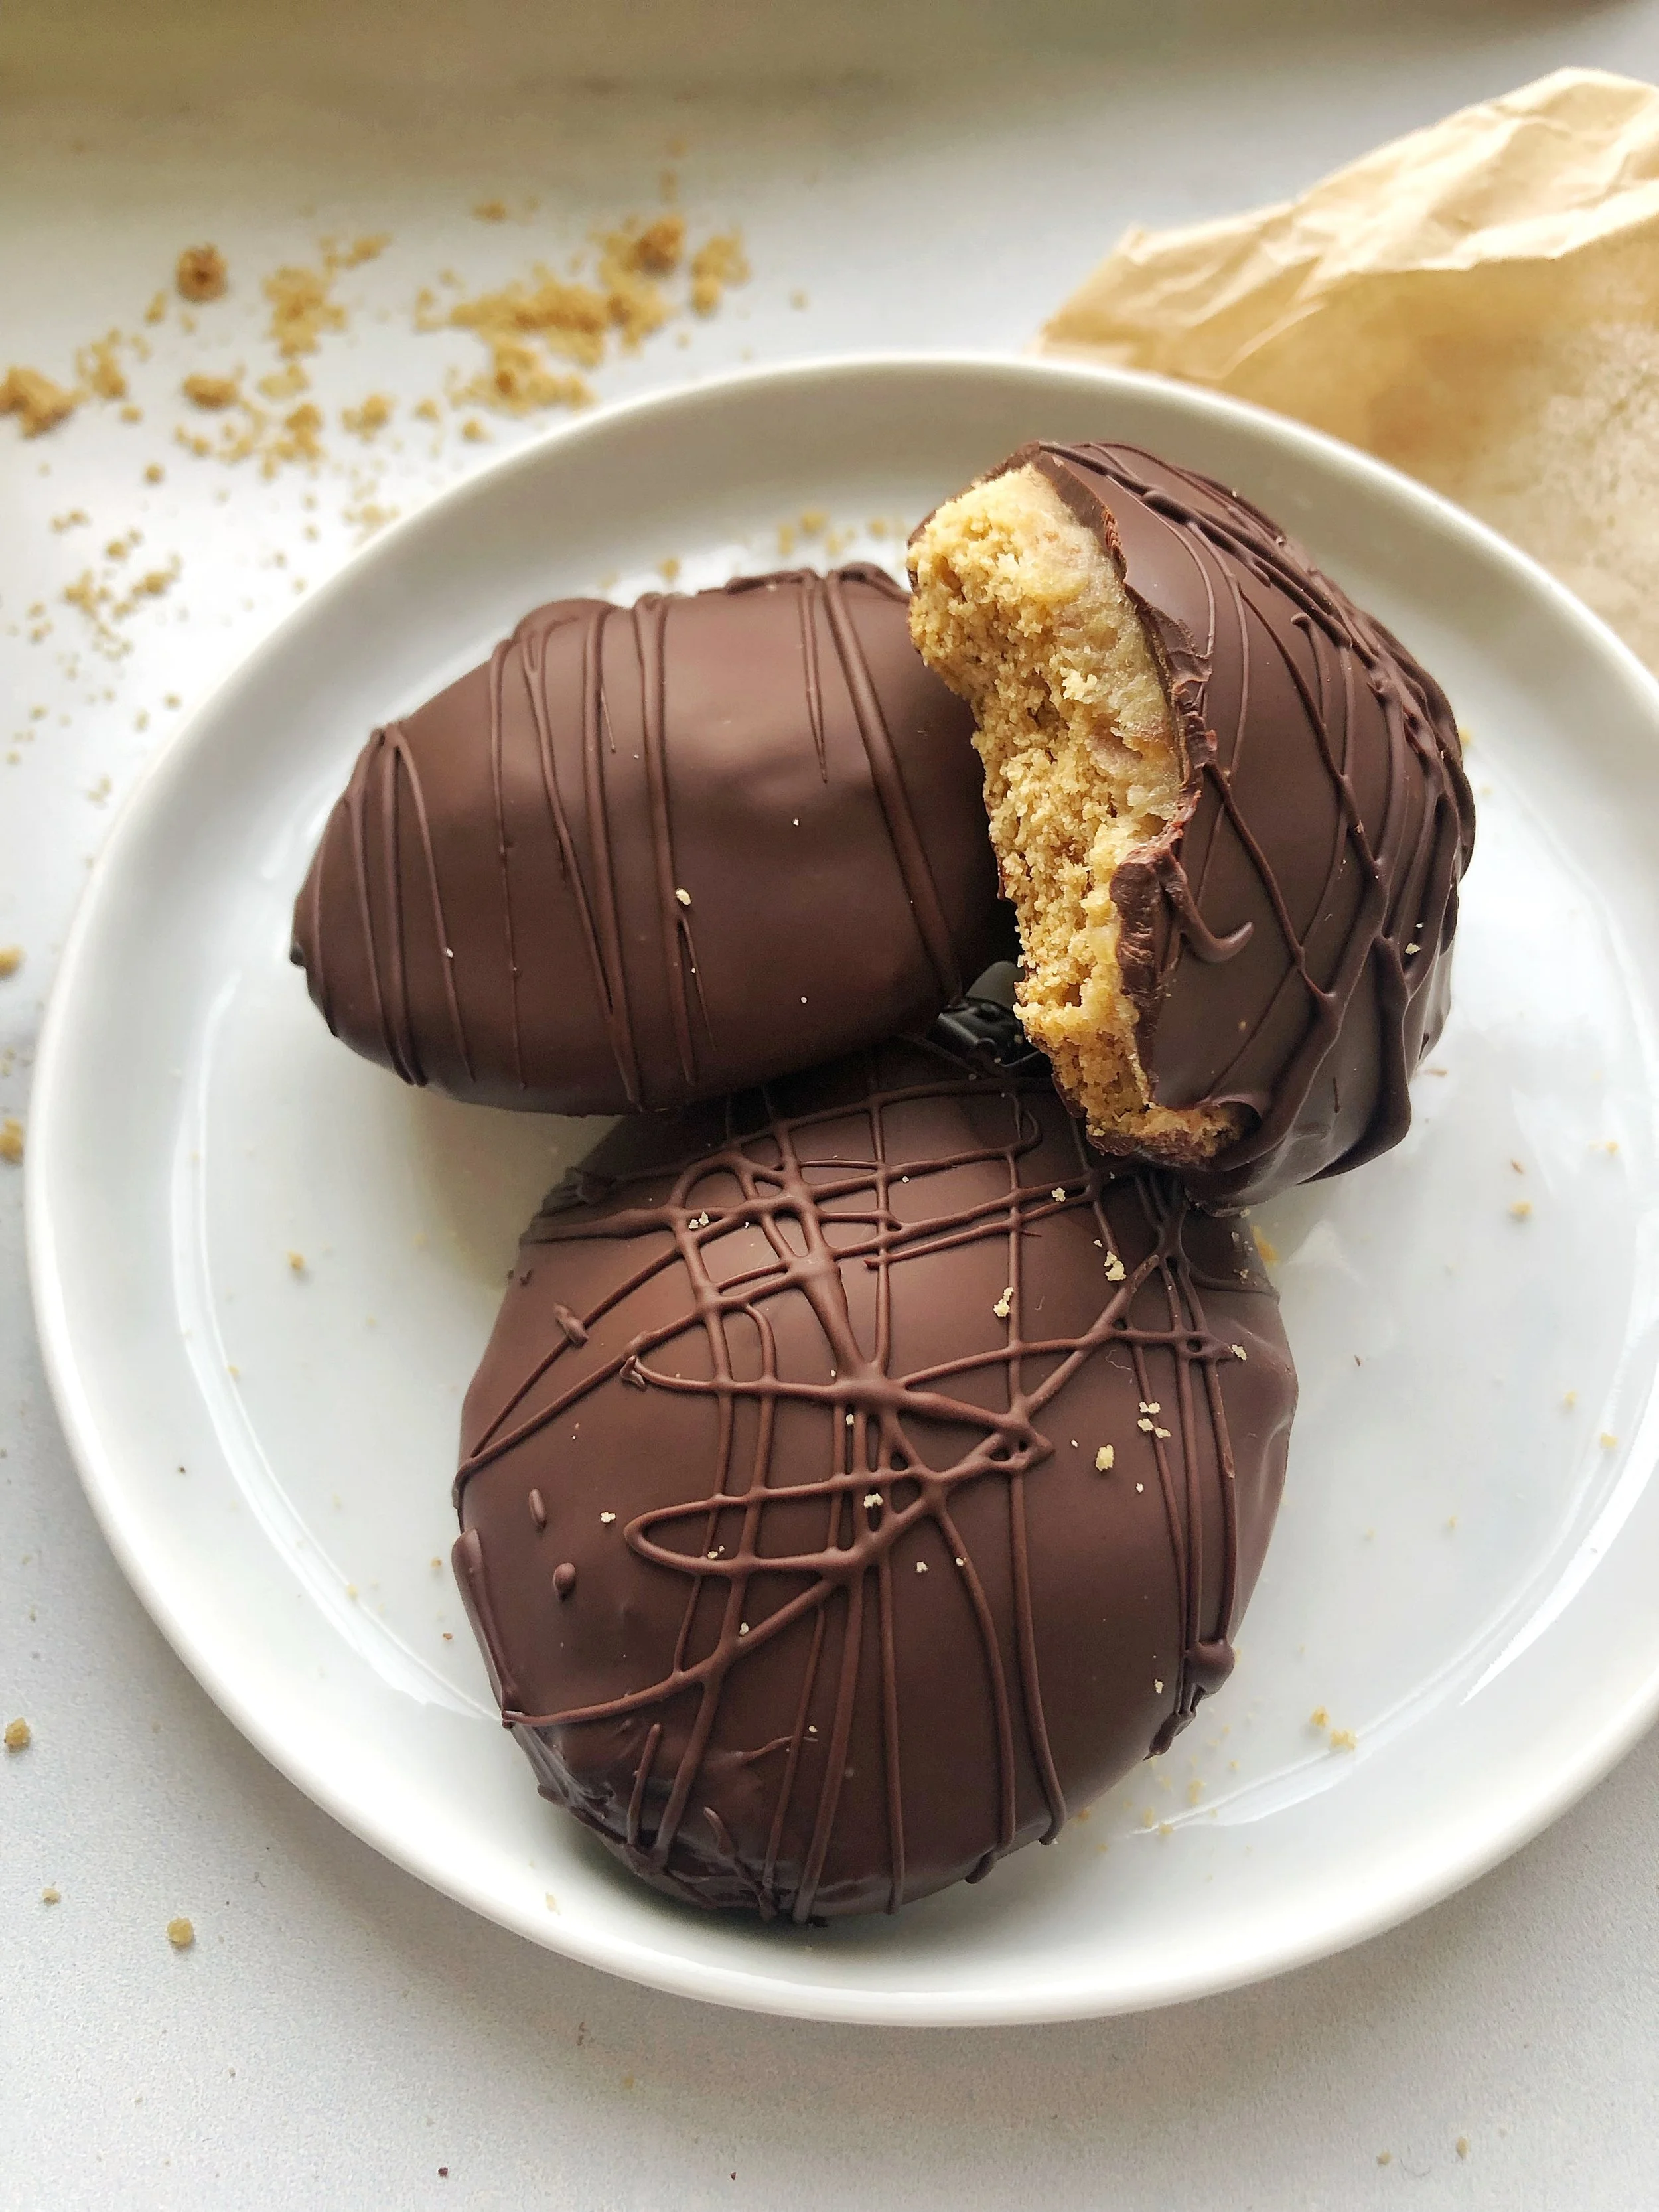
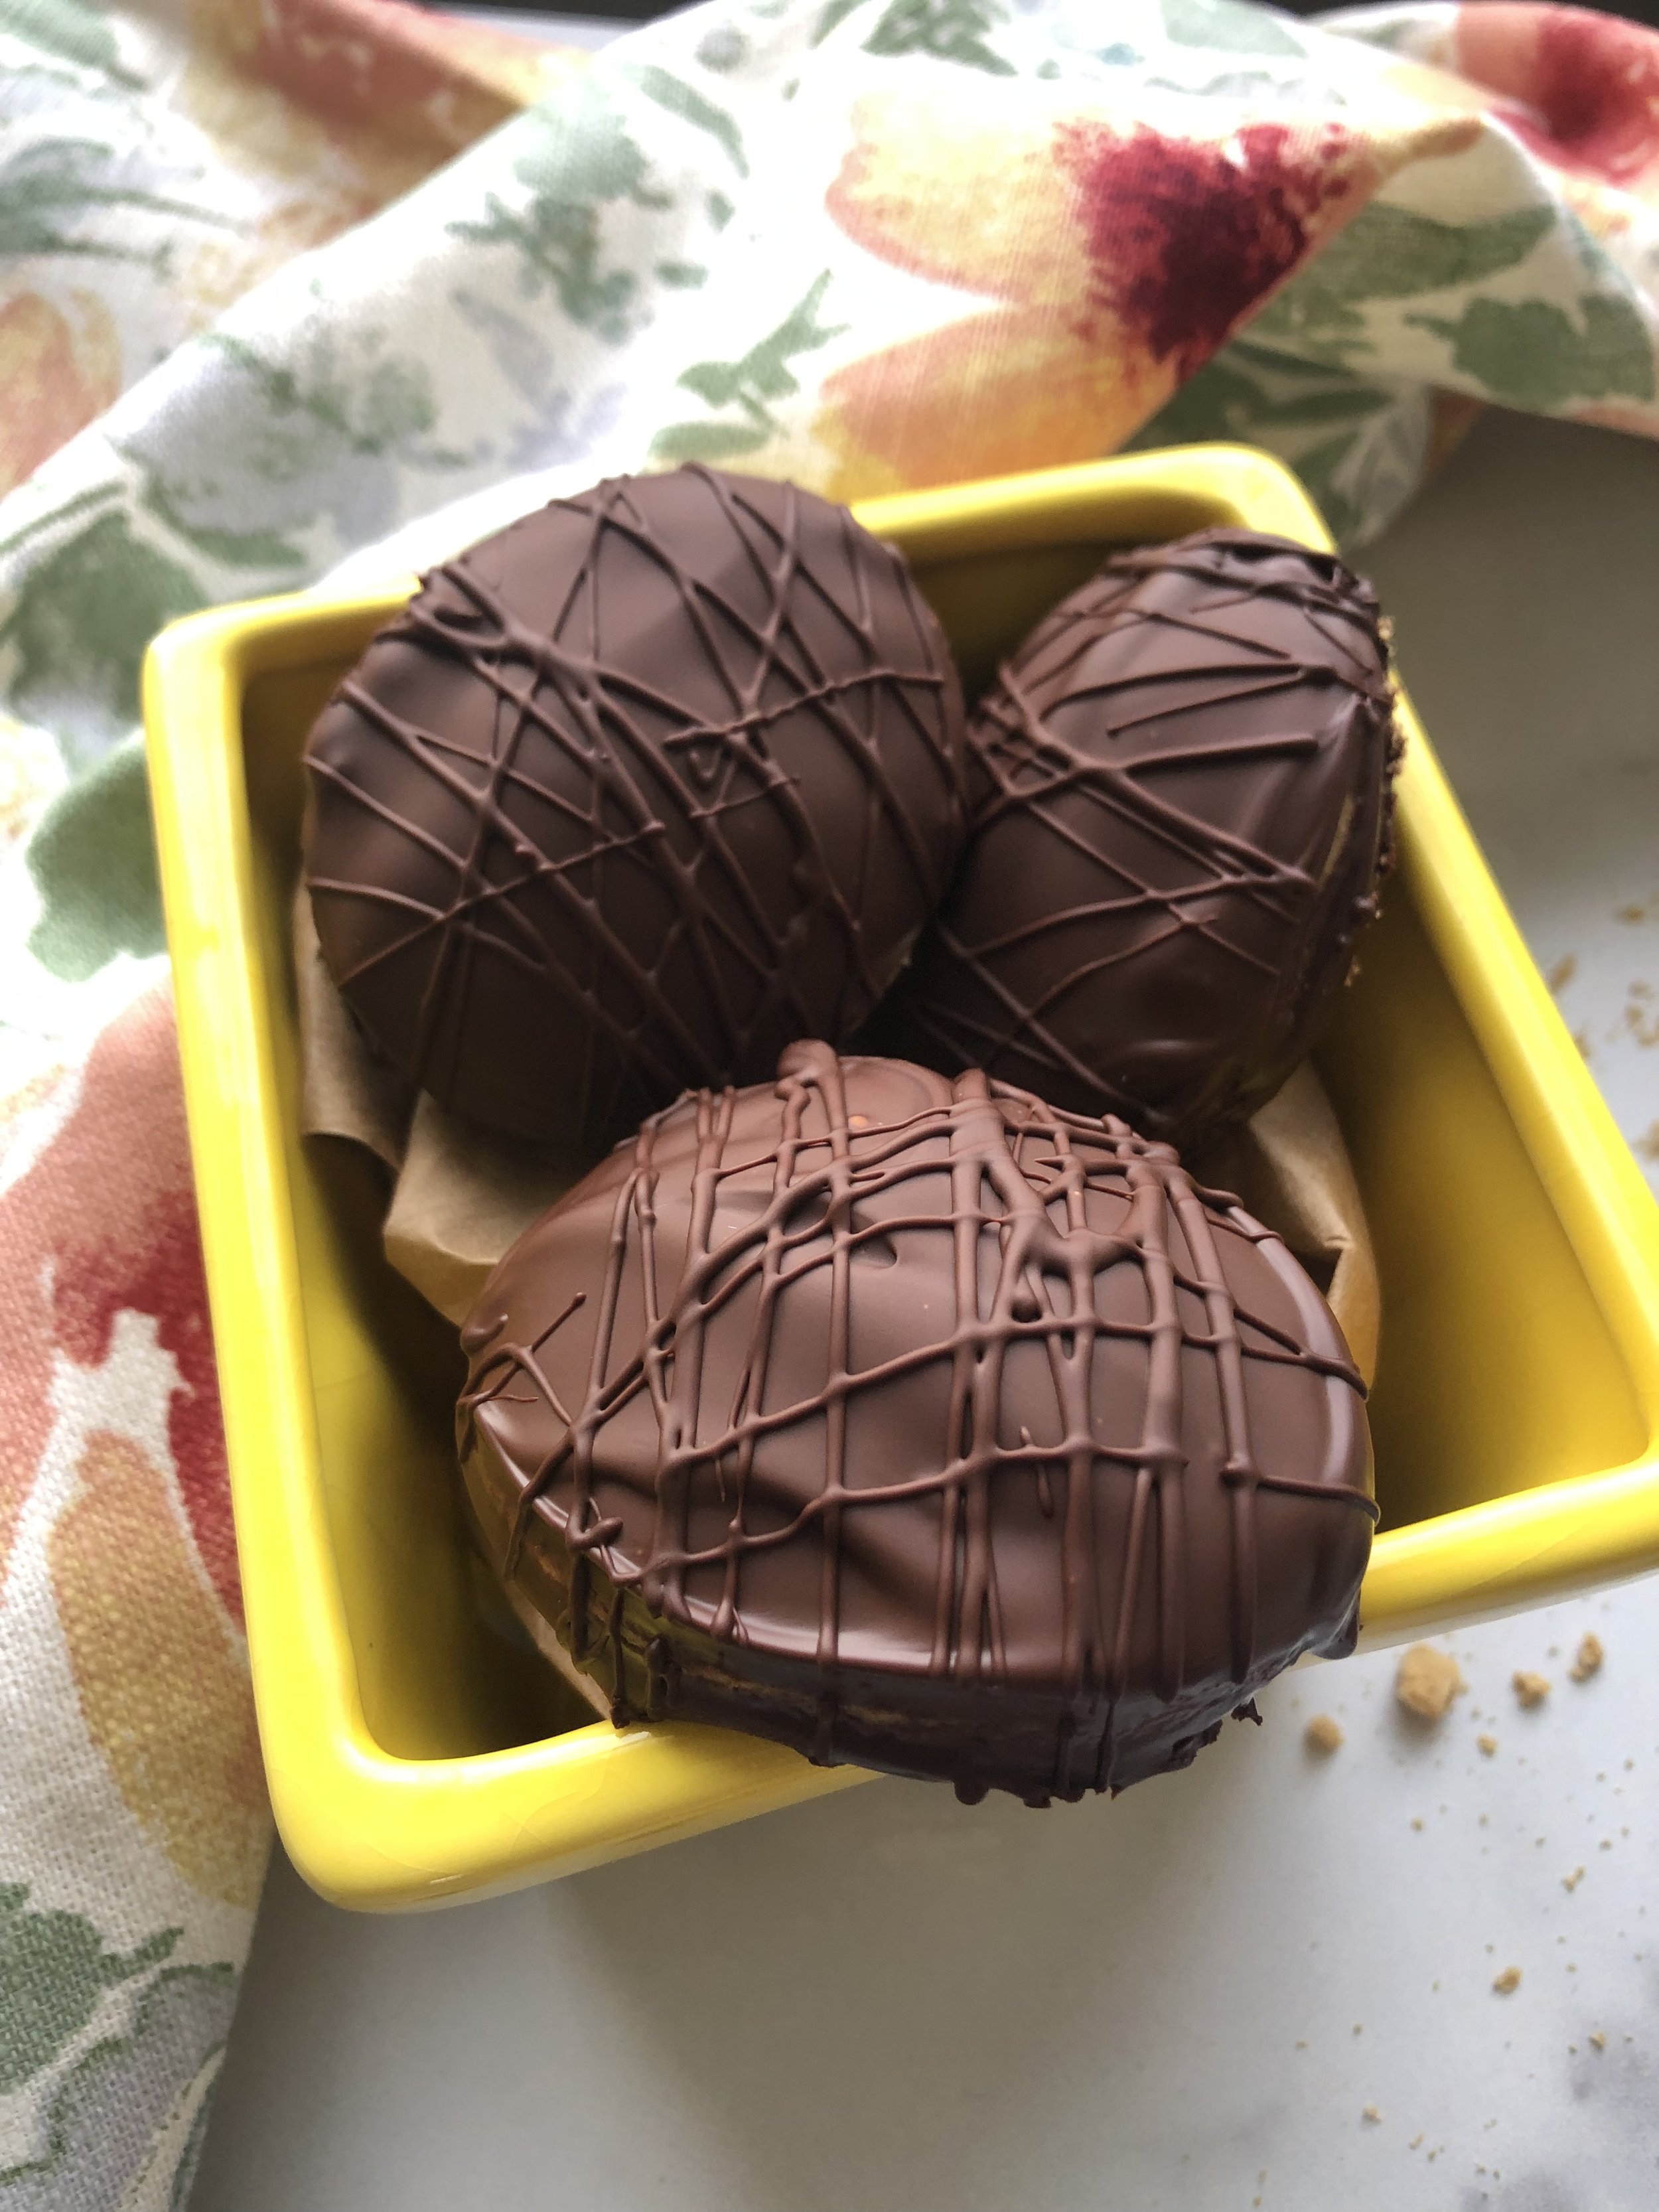
I have this theory that foods made into shapes just taste better. Alphabet macaroni? Infinitely tastier than its tube-shaped counterpart noodles. Shaped sugar cookies? By and large more delicious than their round cousins. These whimsical egg-shaped Twix-inspired cookies uphold this theory, surpassing the standard bar in not only shape, but taste and ingredients as well.
These spring-inspired cookies are the fusion of two of my other favorites, combining my paleo sugar cookies with my date caramel for a delicious treat. The whole ordeal is enrobed in a delicious dark chocolate, making them perfectly reminiscent of the infamous Twix bar, but with infinitely better ingredients, better flavors, and a lot more style. Top these with a simple drizzle of extra chocolate, or add a sprinkle of flakey sea salt or sprinkles to make them extra special.
You can easily cut this recipe in half, or freeze half of the dough for another day.

Paleo “Twix” Easter Eggs
Makes approx. 36 small eggs (or 18 per half recipe)
Gluten-free, Dairy-Free option
ingredients:
Cookies:
1 cup butter, cold and cubed OR 1/2 cup ghee + 1/2 cup shortening for dairy-free
3/4 cup coconut sugar
1 lg egg + 1 egg yolk
2 cups cassava flour
1/2 tsp cream of tartar
1 tsp baking soda
1/4 tsp almond extract (optional)
1 tsp vanilla
1/4 tsp salt
Date Caramel:
1 cup packed, pitted dates
1/4- 1/3 cup coconut oil, melted
1 Tbs coconut milk
1/4 tsp sea salt
hot water for soaking dates
Chocolate coating:
1 1/4 cup chocolate chips
1 tsp coconut oil
Egg-shaped cookie cutters (various size options available. I used the smallest of these)
Directions:
Preheat oven to 350. In the bowl of a stand mixer or in a medium bowl using a hand mixer, cream together butter (or ghee and shortening) and sugar until smooth.
Add egg and egg yolk, stirring on low until combined. Mix in vanilla and almond extracts.
In a separate bowl, whisk together flour, cream of tartar, baking soda, and salt.
With your mixer on low, add 1/2 cup of your flour mixture at a time until well combined and a dough has formed. If dough feels sticky, chill for about 10 minutes in the fridge.
Flatten dough into a disc shape and roll out between 2 pieces of parchment paper to approx. 1/4” thickness. Use a little additional cassava flour to dust the top of the dough before rolling.
Cut into egg shapes, rolling additional dough out until fully used. It’s useful to have a little sprinkling of additional flour nearby to dip the edges of the cookie cutter into before cutting out your shapes. Bake for 8-10 minutes, or until just starting to turn golden.
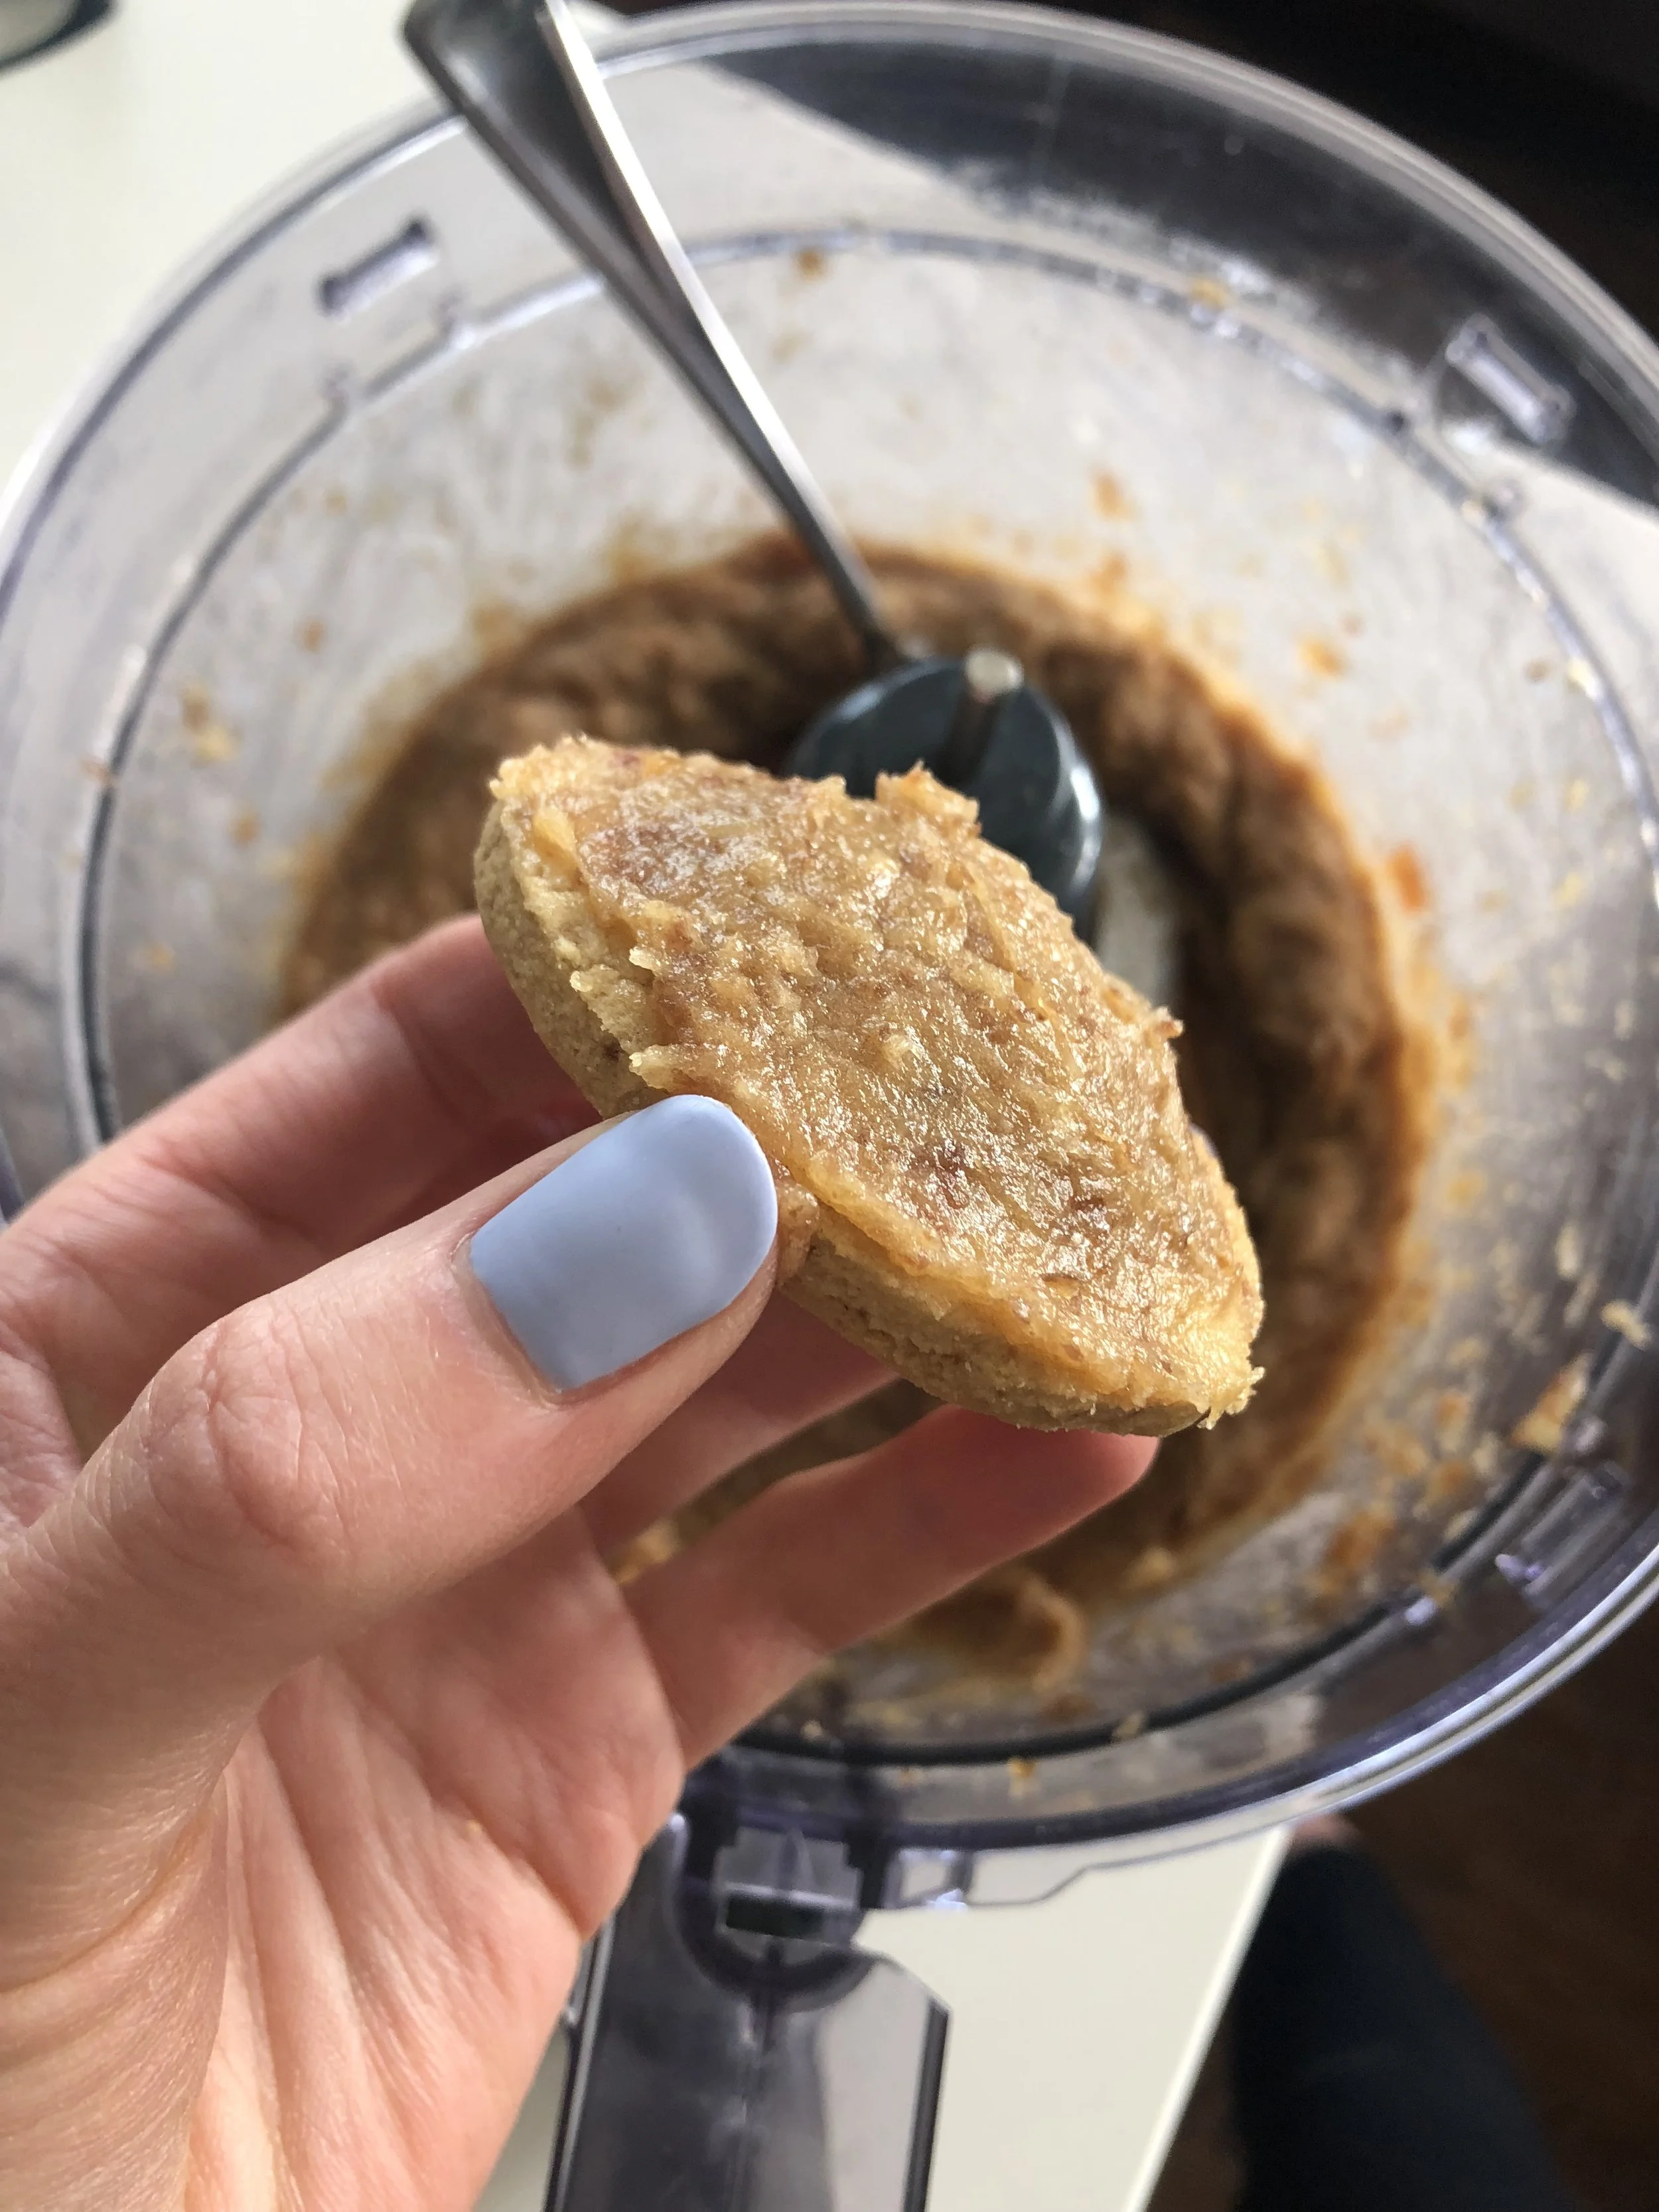
Make date caramel while cookies are baking. Add 1 packed cup of dried, pitted dates to a glass bowl and cover fully with hot water. Let sit for 10-15 minutes or until dates are fully softened and easy to mash. You can do this part even further in advance.
Drain dates and add to the bowl of a food processor along with melted 1/4 cup coconut oil and salt. Pulse to combine until smooth, adding the coconut milk as needed for creaminess. Add additional coconut oil up to 1/3 cup if needed. Scrape down the sides of the bowl and blend again until dates are smooth and creamy and easily spreadable. Set aside.
Once cookies are completely cooled, add the date caramel on top, smoothing to cover completely. An angled icing spatula works great for this. You can add a “dome” to the caramel layer to make these more egg-like in shape by adding more caramel to the center and sloping it down toward the edges as you spread it. Refrigerate.
In a small glass bowl, add chocolate chips and coconut oil. Melt in the microwave at 30-second intervals, stirring between until melted and smooth.
Remove caramel-topped cookies from the fridge and dip in chocolate, dunking caramel side down and moving around to coat. I found these easiest to do by simply holding the cookies between two fingers. Place dipped cookies onto a cooling rack placed over a piece of parchment paper to allow any excess chocolate to drip through. You can smooth any fingerprints around the edges to cover completely.
Place dipped cookies spaced apart in the fridge to allow the chocolate to harden completely. Once set, enjoy! Place any leftover cookies in an airtight container in the fridge.


I hope you enjoy making these egg-cellent springtime cookies! They’re delicious fun that the whole family will enjoy. Let me know what you think when you try them!
In loving health,
Ashley
Note: This post contains affiliate links. This is no way impacts what you pay for products. While a little extra moolah is always nice and helps keep this blog up and running, the sole purpose of sharing these links is to help you find quality ingredients with ease and take out some of the guess work. It is my hope that your experiences in the kitchen are free of stress and frustration, and this is my way of helping you get there. I also never advocate for anything that I don't 100% believe to be a quality item. All recipes are solely mine. Sharing is caring, and I kindly ask that you give credit appropriately.