
What I’m about to share with you is likely considered dessert blasphemy, but I feel I have to remain transparent and true to self and share it anyway: I am not a cheesecake fan. There, I’ve said it. I hope we can remain friends. I know cheesecake is one of those beloved luxurious dessert indulgences, with flavor variations a mile long and even entire restaurant chains devoted to its namesake. But for me, it just never really struck my fancy. If I were offered any dessert in the world, cheesecake would never even cross my radar. I’m much more of a chewy cookie or brownie or bar dessert fan. But with this confession, I feel perfectly positioned to say that these cheesecake bars really do take the cake: and this is coming from a most indifferent cheesecake consumer.
They’re incredibly simple to throw together and don’t require the tedious water bath baking component of a classic cheesecake, yet they retain all of the texture and flavor notes that you know and love in a good cheesecake: buttery graham-cracker-like crust, slightly tangy filling, and luxuriously creamy texture. You can also easily customize with toppings to tickle your fancy: strawberries (try this delicious topping from my PB & J bars!), blueberries, raspberries, chocolate chips, entirely dipped in chocolate, you do YOU! And the best part is, you get to enjoy this delicious classic with zero gluten, grains, refined sugar, or dairy. Unlike many dairy-free versions out there, this one is not cashew-based (although it is not entirely nut-free). Scroll on to be amazed!
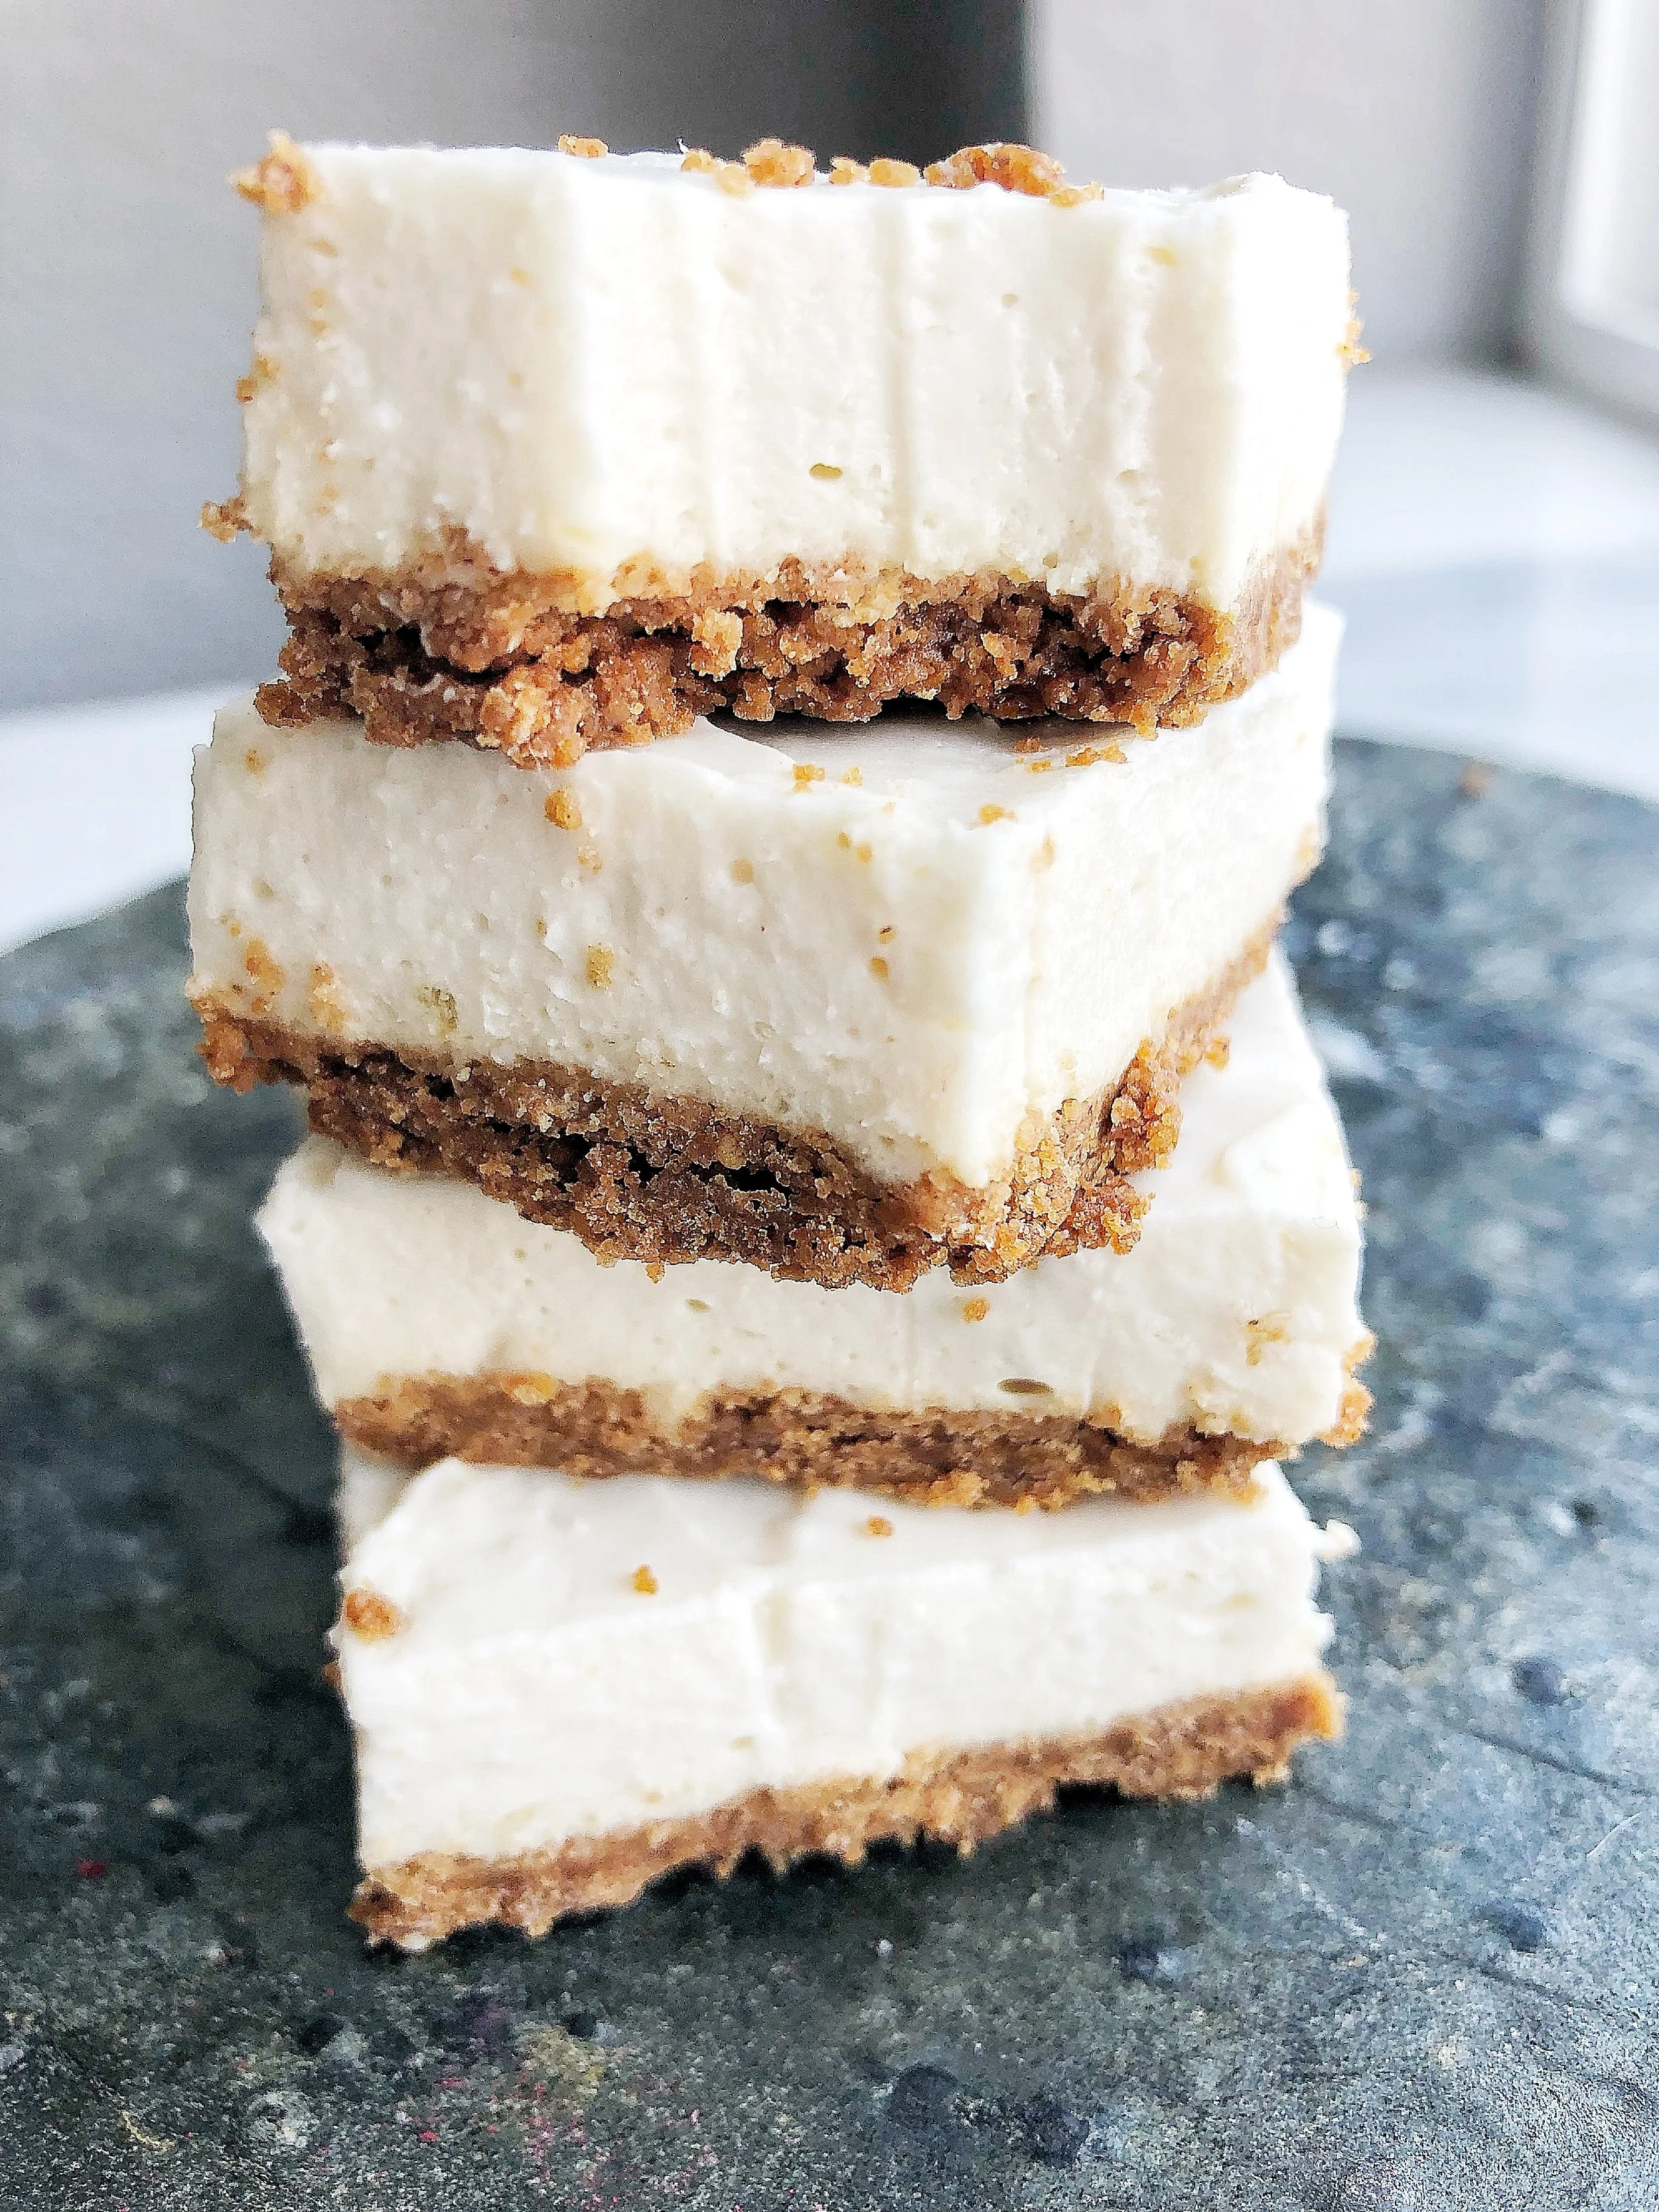
Paleo Cheesecake Bars
(GF, DF, Paleo, Egg-free, Grain-free)
Ingredients:
Crust:
1 box Simple Mills cinnamon cookies OR this simple shortbread crust recipe
5 Tbs melted ghee, grass fed butter, or coconut oil (coconut oil will lend a slightly softer texture and less buttery flavor)
pinch of sea salt
Filling:
8 oz Kite Hill dairy-free cream cheese, plain (or use a grass-fed dairy version)
3/4 cup Coyo plain coconut yogurt (or use a grass-fed plain dairy version, full fat)
1/4 cup pure maple syrup
2 tsp pure lemon juice
1 tsp vanilla extract (or 1/2 tsp vanilla powder)
2 Tbs coconut oil, melted and cooled
2 tsp grass fed gelatin
4 Tbs water, divided (2 Tbs cold/room temp, 2 Tbs hot)
Directions:
Preheat oven to 350 degrees. (If using this crust recipe, follow all directions accordingly and skip ahead to step #6)
Add cookies to the bowl of a food processor and process to a fine crumb with no big chunks. You can also add the cookies to a large zip top baggie and crush with a rolling pin.
In a medium bowl, add cookie crumbs and melted ghee/butter/coconut oil and stir well to combine. You want a wet sand-like texture.
Pour mixture into the bottom of a 9” square pan and flatten with the bottom of a glass or measuring cup, making sure crumbs are evenly distributed over the bottom.
Bake for 8 min or until golden brown (oven times may vary). Remove and let cool completely.
While crust is baking, prepare your gelatin. In a small bowl, add 2 tsp gelatin and 2 Tbs cold or room temp water. Mix to combine and set aside to allow the gelatin to bloom.
To the bowl of a stand mixer or a medium bowl using a hand mixer, add cream cheese, yogurt, maple syrup, vanilla, and lemon juice and whisk well on medium speed to combine. Slowly drizzle in your melted and cooled coconut oil while whisking until smooth.
To your gelatin, add additional 2 Tbs hot water (just off of boiling), stirring to dissolve completely, making sure there are no lumps. Slowly drizzle gelatin into your cheesecake mixture while mixing on low speed until combined.
Smooth cheesecake mixture evenly over your completely cooled crust and refrigerate until firm, approx. 1 hr.
Slice, top as desired, or enjoy plain! Keep stored in the refrigerator. Best enjoyed within a week (if they even last that long!)


I sincerely hope that you, a likely cheesecake lover, enjoy these as much as I, a general cheesecake-tolerator, thoroughly enjoyed them!
In loving health,
Ashley

Note: This post contains affiliate links. This is no way impacts what you pay for products. While a little extra moolah is always nice and helps keep this blog up and running, the sole purpose of sharing these links is to help you find quality ingredients with ease and take out some of the guess work. It is my hope that your experiences in the kitchen are free of stress and frustration, and this is my way of helping you get there. I also never advocate for anything that I don't 100% believe to be a quality item. All recipes are solely mine. Sharing is caring, and I kindly ask that you give credit appropriately.