After quite a dry spell on the new recipe front (hello, having a baby), I was so pumped when the idea for these magic summer bars came to me. Since then, I’ve made and remade them six times over to get them *just right* and boy oh boy are they worth it!
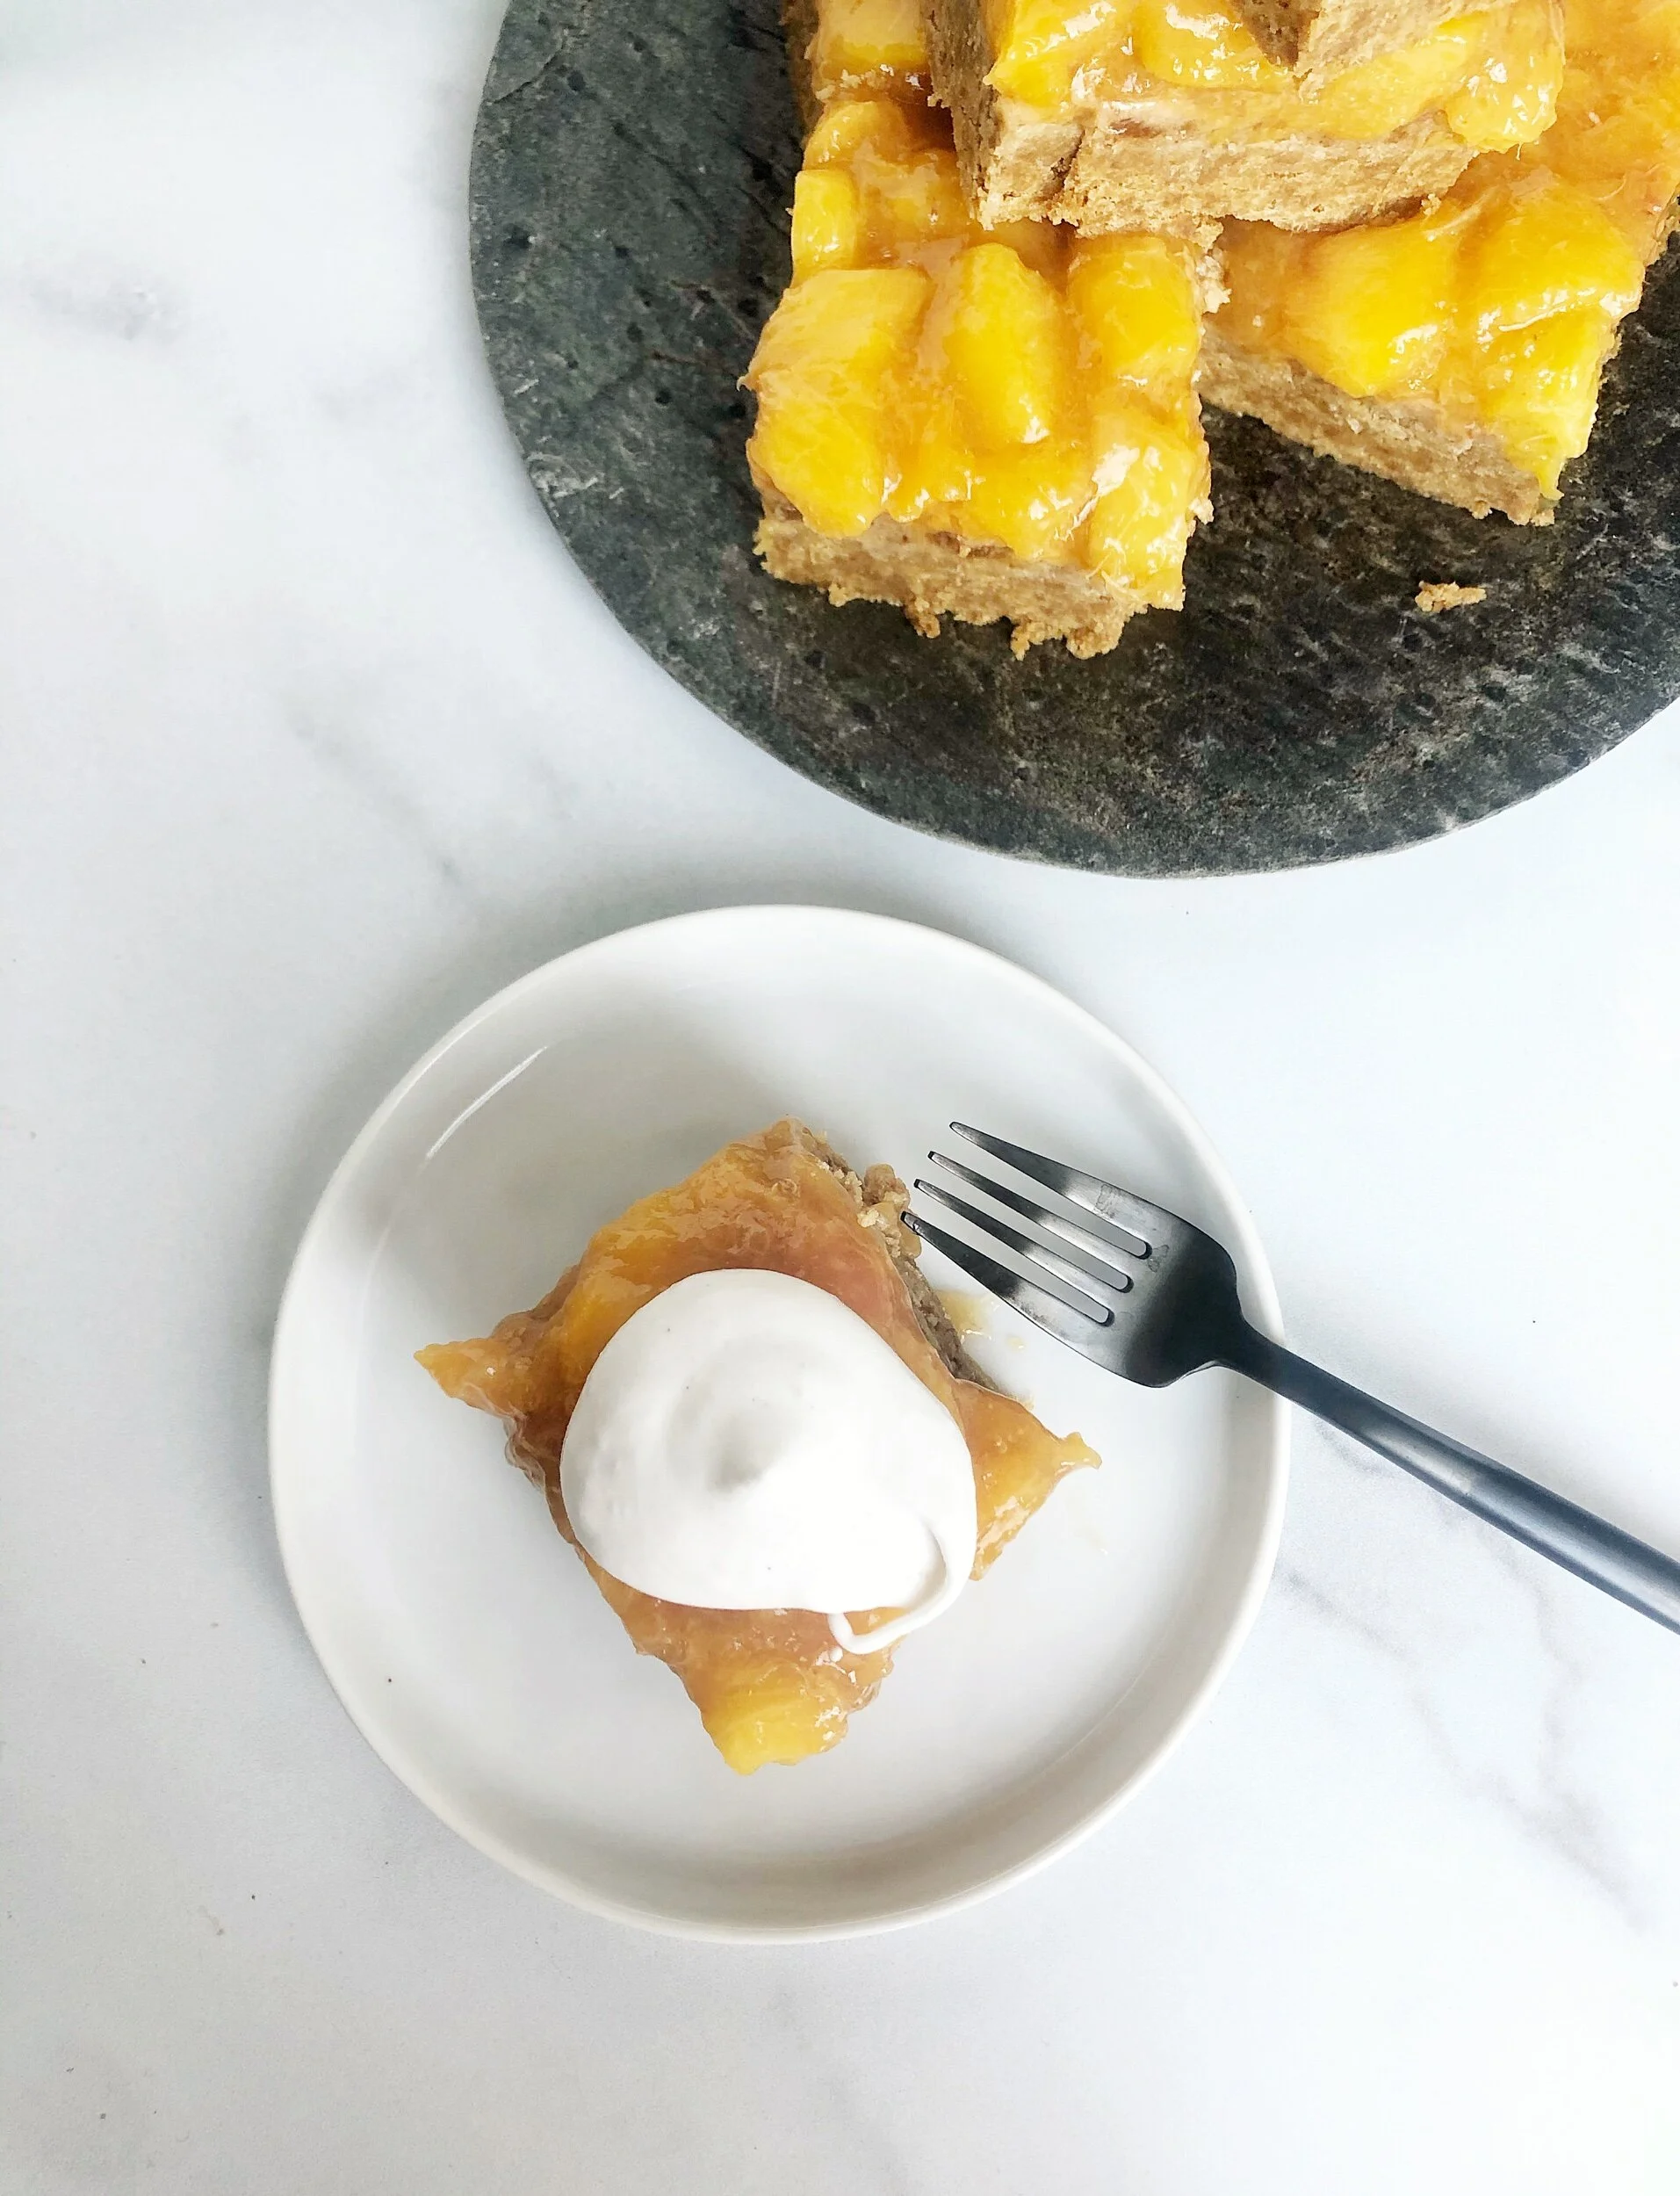
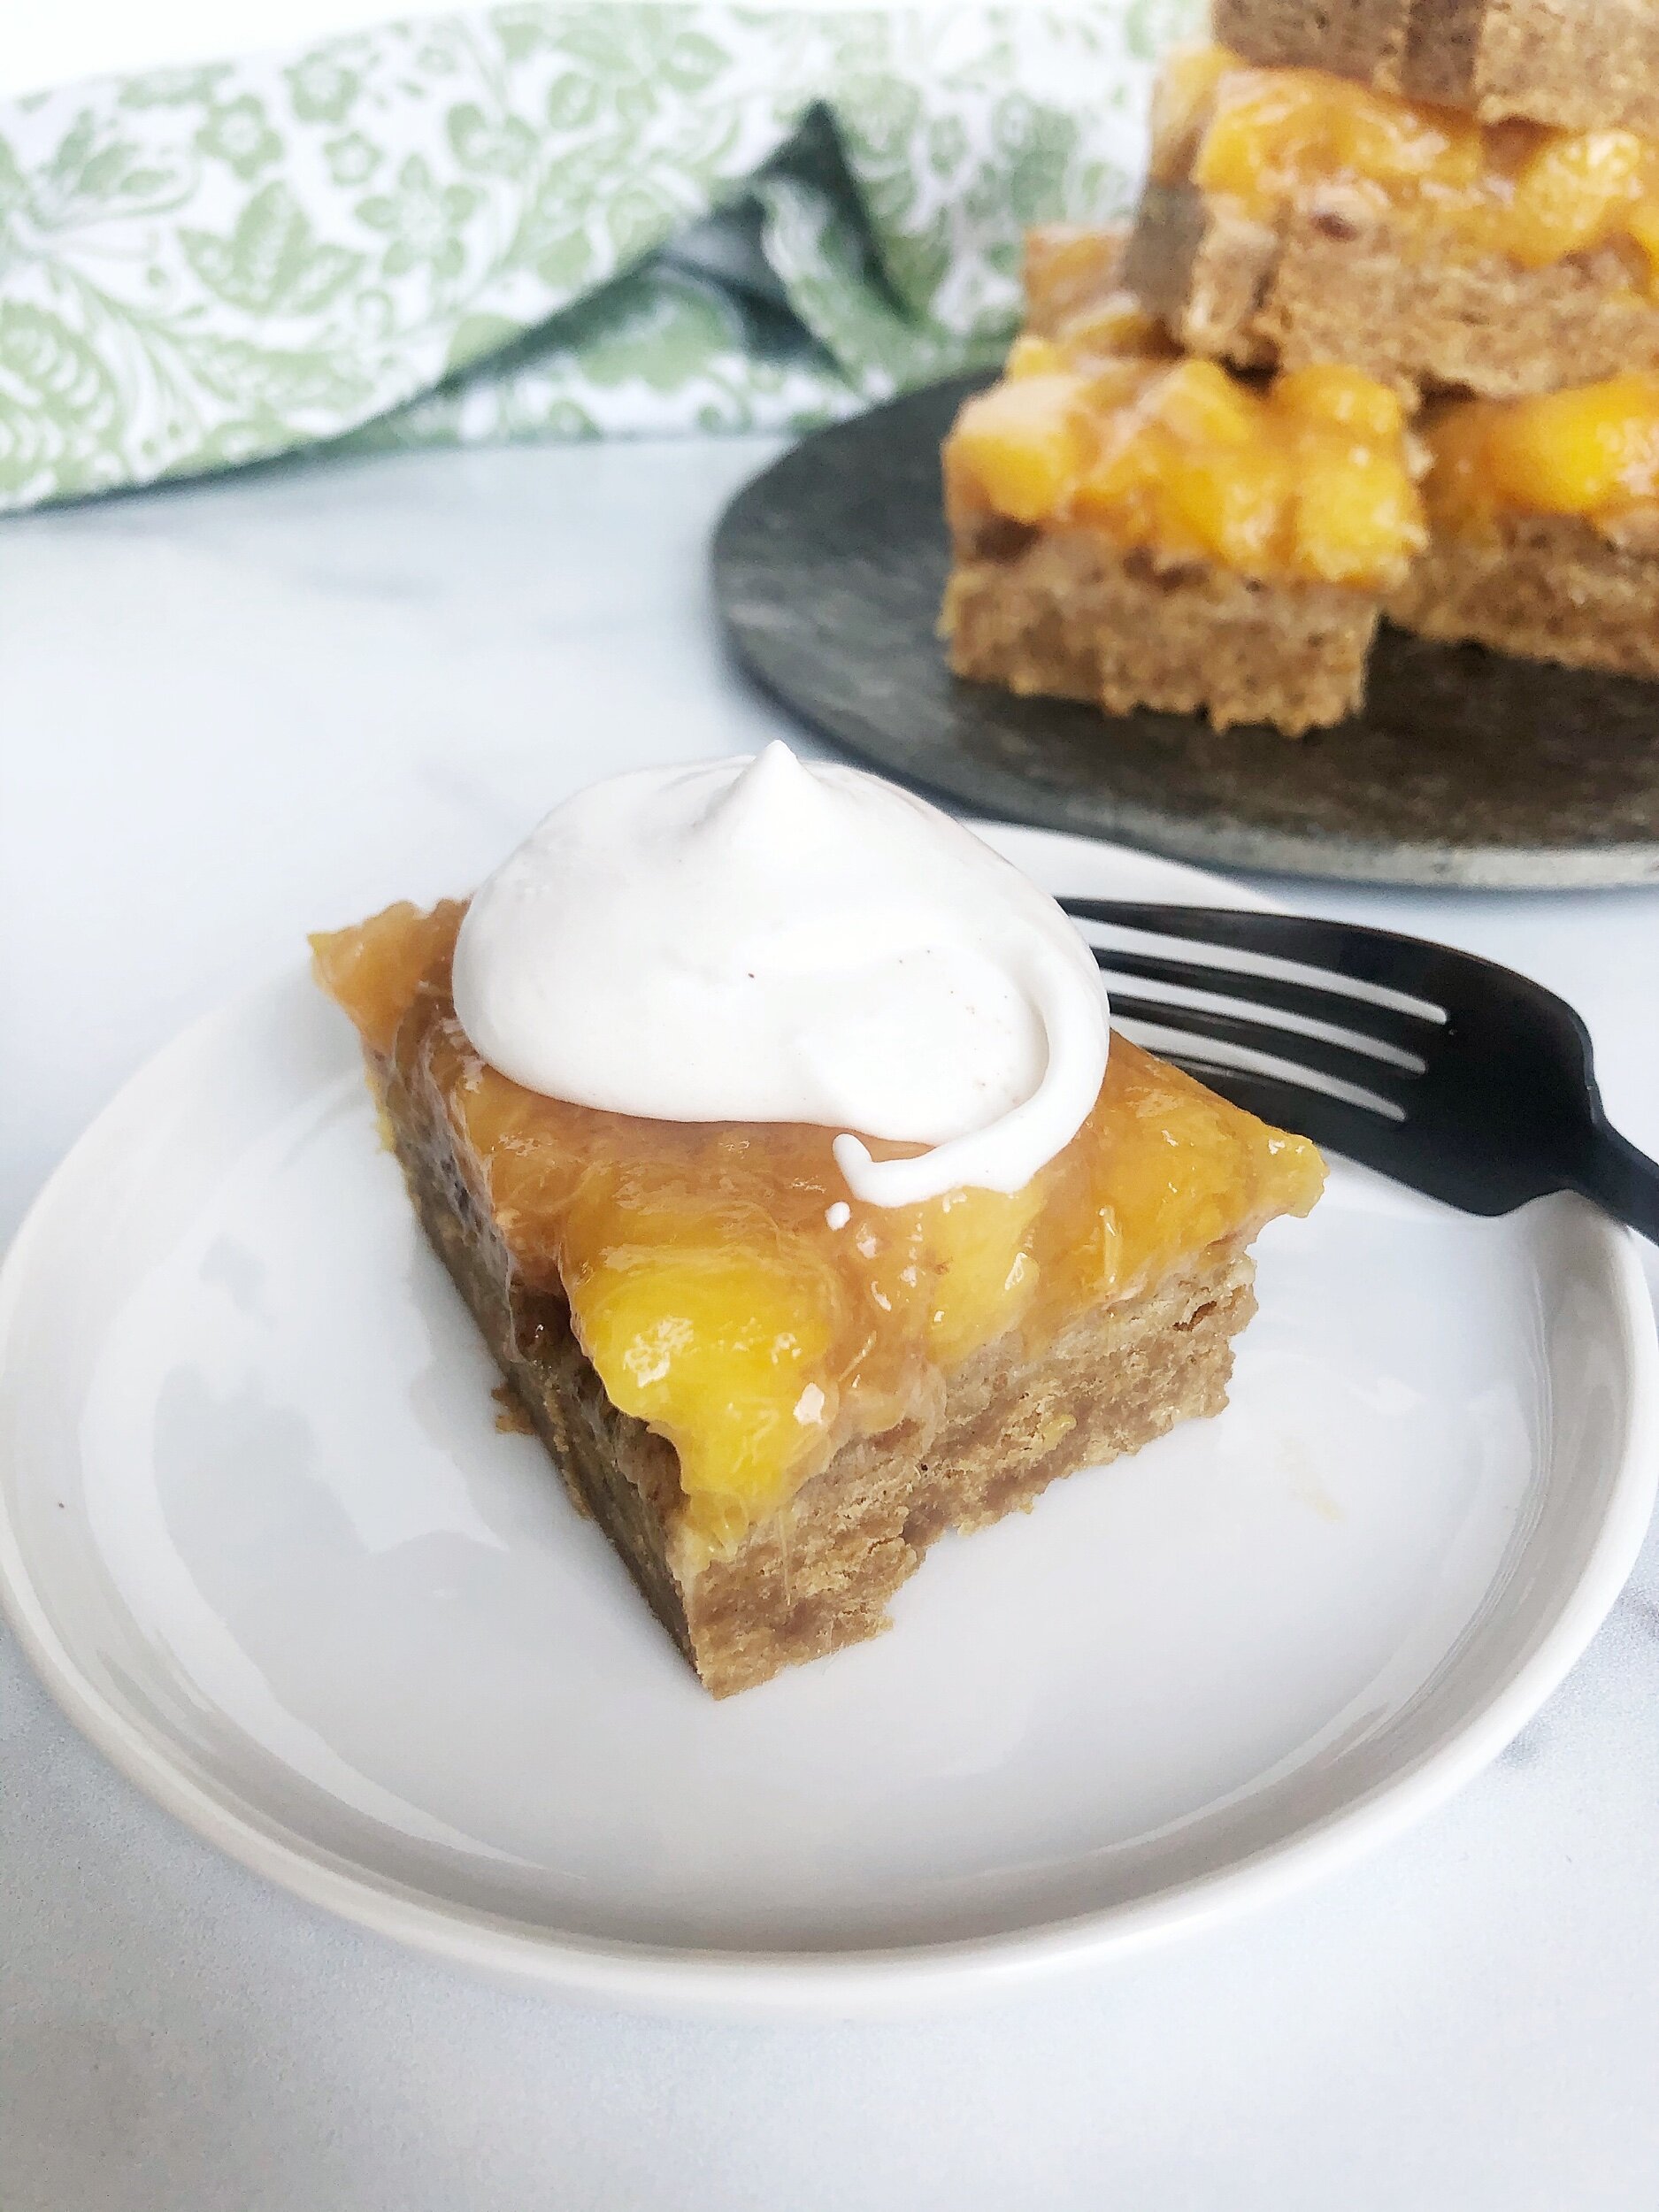
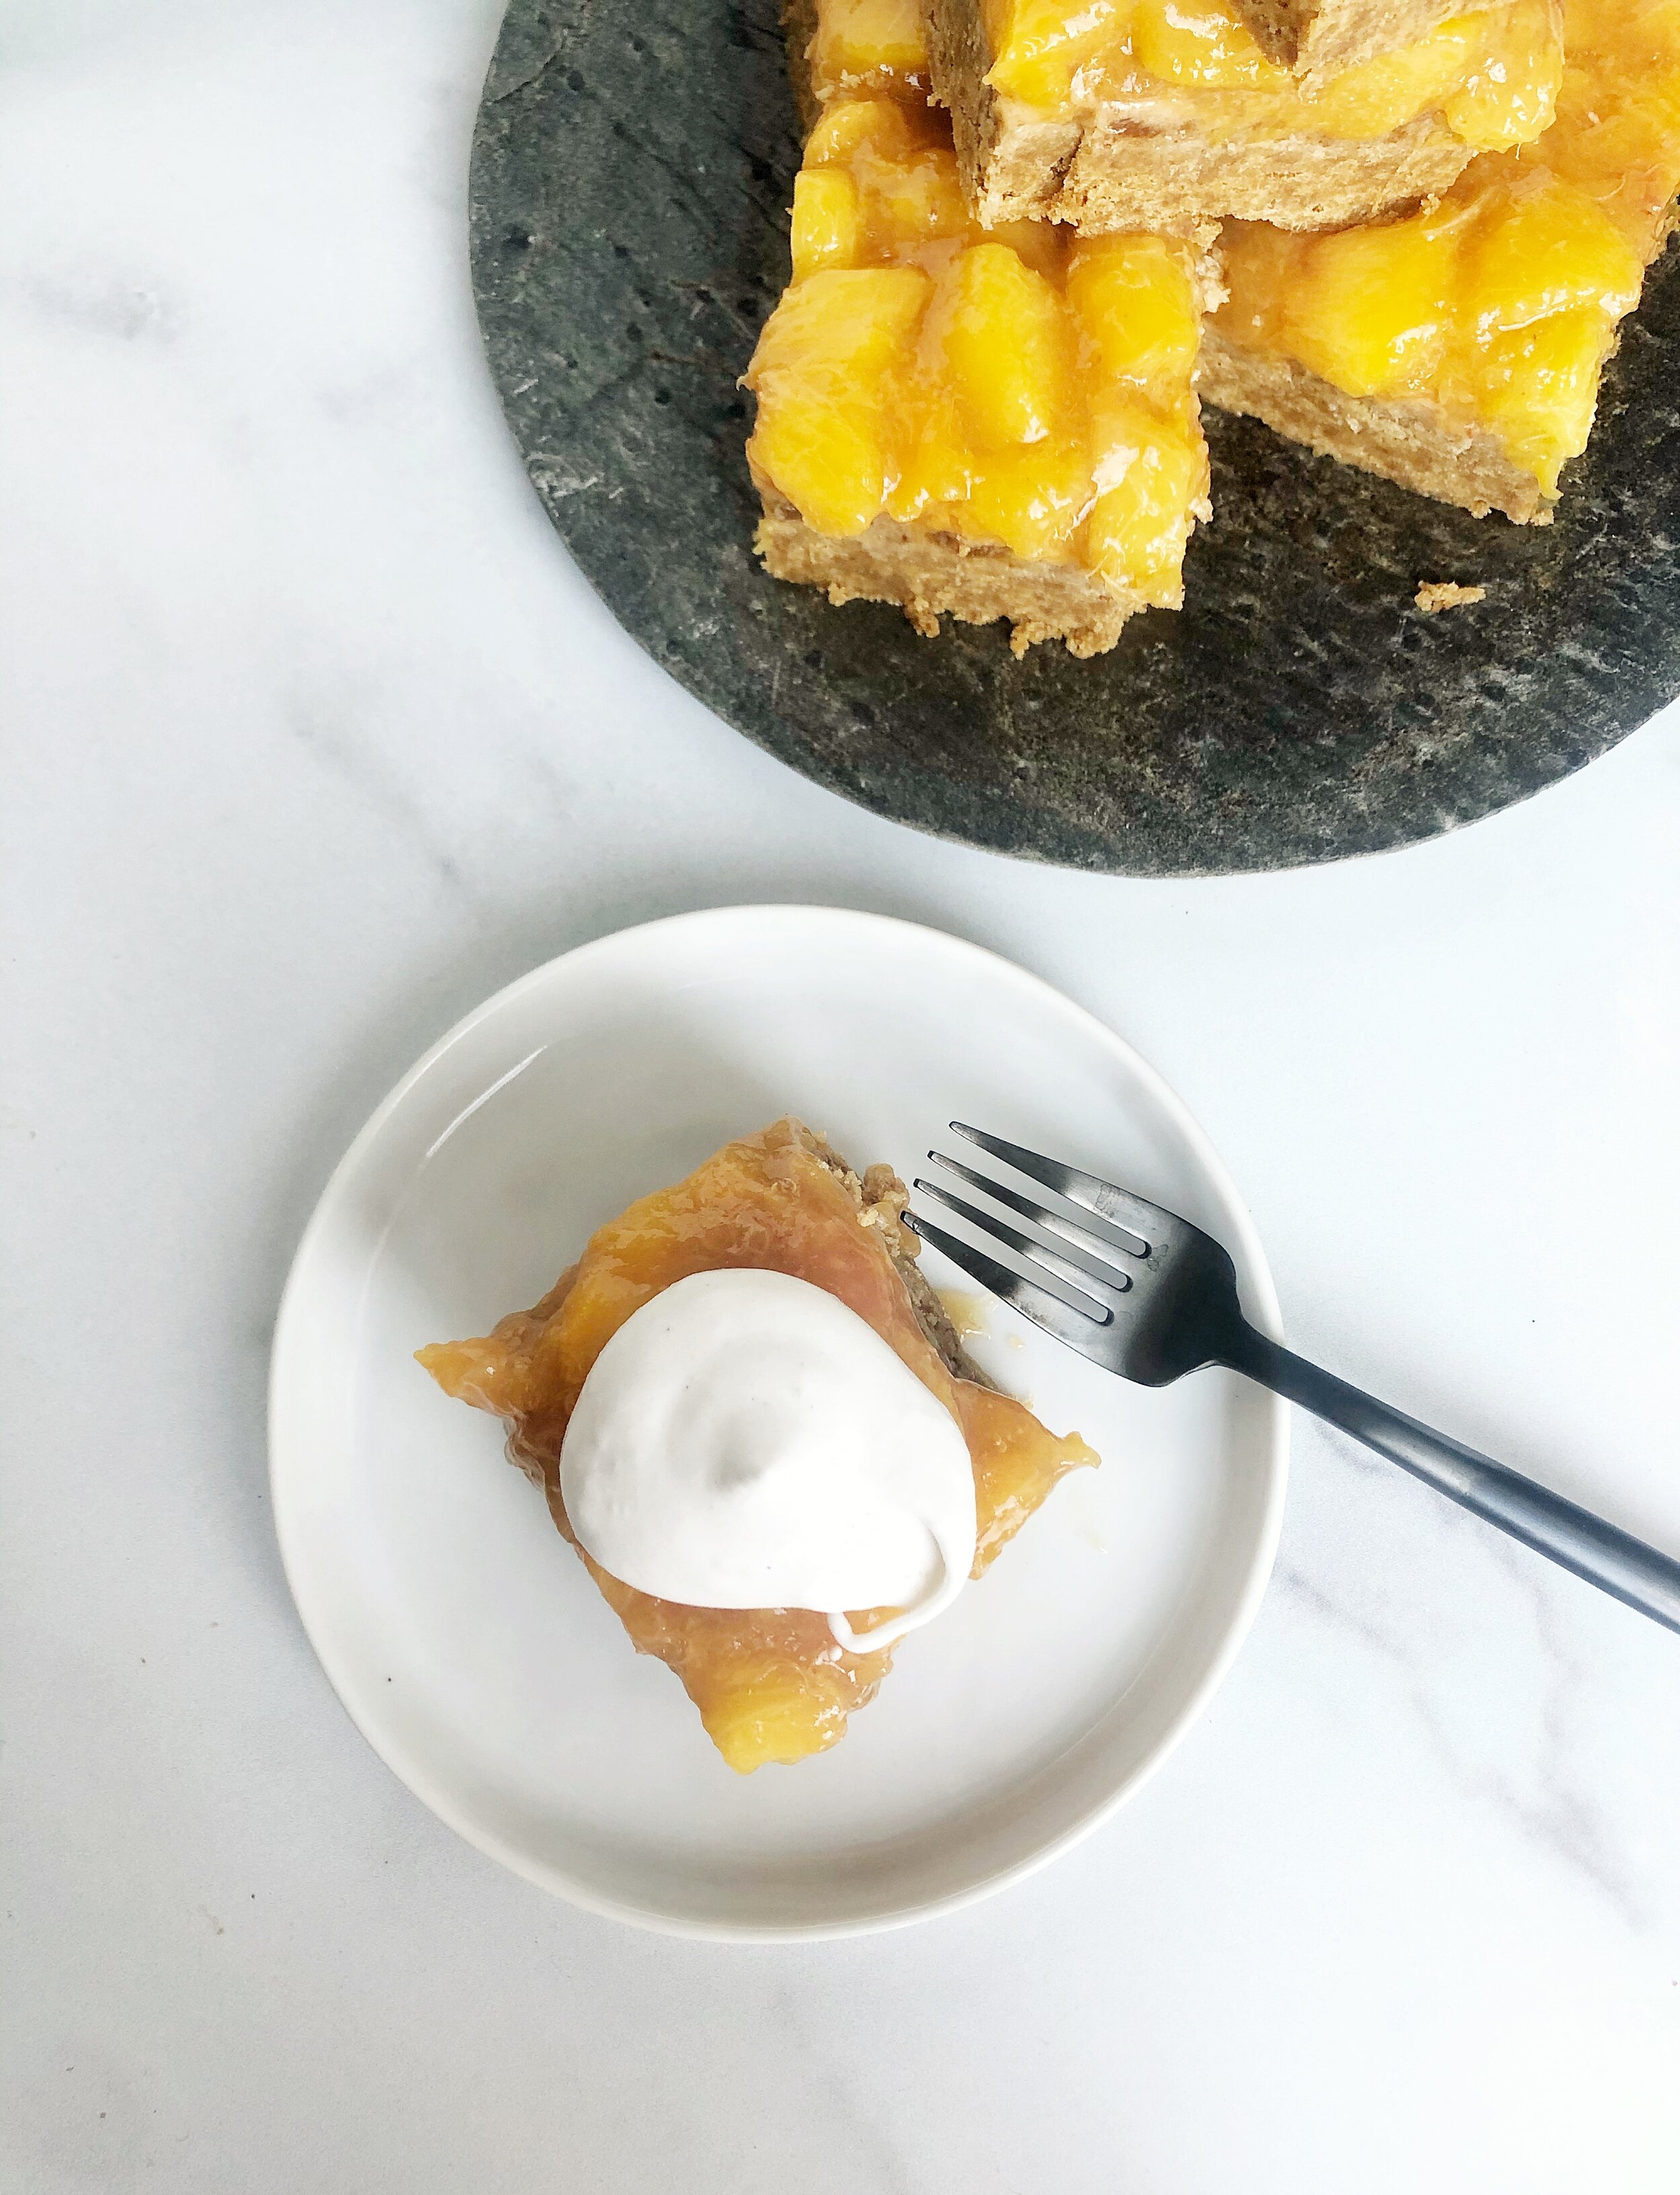
Peaches just scream summer to me, with their juicy freshness and vibrant colors. I really wanted these bars to highlight peaches in all their glory, but carry more convenience than the standard peach pie (also a huge fan). I’m pleased to say that I think I’ve nailed it! The crust is a dense, chewy cookie-like base, reminiscent of a snickerdoodle, followed by a layer of date caramel and the piece de résistance, fresh peach topping. Things really get next level with the creamy coconut whipped cream to land the perfect summertime treat!
While I’m usually a fan of no-wait desserts, ones that can go from prep to in-my-mouth in as little time as possible, I will say that these bars are best refrigerated overnight or at least for a few hours for optimal texture and flavor, and they are absolutely worth the wait!

Peach Pie Bars
Makes approx. 12 bars, or one 8x8 pan
Gluten-free, Dairy-free option
Ingredients:
Crust:
1 cup butter, slightly softened and cubed OR 1/2 cup ghee + 1/2 cup shortening for dairy-free
3/4 cup coconut sugar
1 lg egg + 1 egg yolk
1 1/2 cup cassava flour
1/2 tsp cream of tartar
1 tsp baking soda
1/2 tsp cinnamon
1 tsp vanilla
1/4 tsp salt
coconut or avocado oil for greasing pan
Date Caramel*:
1 cup packed, pitted dates
1/4- 1/3 cup coconut oil, melted
1 Tbs coconut milk
1/4 tsp sea salt
hot water for soaking dates
Peach layer:
3 cups fresh peaches, cubed (you can also use frozen, cook time and texture will vary)
1 1/2 Tbs arrowroot starch
1 tsp gelatin (this is optional, but does help this layer set a little more consistently)
Whipped coconut cream:
1 can full fat coconut milk (refrigerated overnight) OR 1 can of coconut cream
1 Tbs maple syrup (to taste)
cinnamon (optional)
*you can omit the date caramel layer if you choose. I opted for it after several iterations of this recipe and found that the peach layer didn’t stick as well to the crust without it. But flavors and textures are still on point either way!
Directions:
Preheat oven to 350 degrees. Lightly grease an 8x8 inch pan with coconut or avocado oil or line with parchment paper and set aside.
In a stand mixer or large bowl with electric hand mixer, cream together butter (or ghee/shortening) and sugar until smooth, scraping down the sides of the bowl. Add vanilla.
Add egg and yolk and gently mix to combine.
In a separate small bowl, whisk together all dry ingredients. While mixing on low, gently add dry ingredients to creamed mixture 1/2 cup at a time until fully incorporated.
Add your crust mixture (it will be a sticky/wet batter) to the greased pan and spread evenly.
Bake for 8-10 minutes, checking for a very light golden brown. Don’t overcook! Set aside to cool when done.
While the crust is baking, prep your date mixture. Add 1 cup of packed dried, pitted dates to a glass bowl and cover fully with hot water. Let sit for 10-15 minutes or until dates are fully softened and easy to mash. You can do this part even further in advance.
Drain dates and add to the bowl of a food processor along with melted coconut oil and salt. Pulse to combine until smooth, adding the coconut milk as needed for creaminess. Scrape down the sides of the bowl and blend again until dates are smooth and creamy. Set aside.
Once crust is cooled, add the date caramel on top, smoothing to cover completely. Refrigerate.
Prep peaches while crust is cooling in the fridge. To a small saucepan over medium low heat, add diced peaches, stirring.
Once the peaches have produced some juice, gently sprinkle in the arrowroot starch and stir to combine. Sprinkle in gelatin if using and stir to combine. Allow to cook until juices are starting to thicken, about 5 minutes. Remove from heat.
Allow peaches to cool to room temp before adding on top of the caramel layer. Cover caramel layer with the peaches and smooth to all edges of your crust. Cover and refrigerate for at least 30 minutes. The texture and flavors improve the longer this can sit. You can even make this the day before and let it sit overnight.
For the coconut whipped cream, open refrigerated coconut milk and scoop out the solid cream layer, saving the watery coconut liquid for another use (smoothies, curry, etc). If using coconut cream you can just use as is from the can.
In a stand mixer or with a hand mixer, whip on medium high speed until fluffy and doubled in volume. Add in maple syrup and cinnamon and whip until combined. Can be used immediately or refrigerated for later use.
Once bars are completely cooled, slice, top with whipped cream before serving, and enjoy to your heart’s content!


Enjoy these final days of the (weirdest) summer with these tasty peach pie bars! Any day is an occasion for celebrating and these are the perfect little treat.
Let me know of you make them and what you think! Be sure to tag your creations on social media with @ashley.castle.nutrition so I can see what you’re enjoying.
In loving health,
Ashley

Note: This post contains affiliate links. This is no way impacts what you pay for products. While a little extra moolah is always nice and helps keep this blog up and running, the sole purpose of sharing these links is to help you find quality ingredients with ease and take out some of the guess work. It is my hope that your experiences in the kitchen are free of stress and frustration, and this is my way of helping you get there. I also never advocate for anything that I don't 100% believe to be a quality item. All recipes are solely mine. Sharing is caring, and I kindly ask that you give credit appropriately.